 Touching Up a Photo
Sometimes you want a quick fix for a photo, like lightening up the subject or smudging out the stranger in the background. If you want to make an adjustment to an area of a photo without affecting the whole image, the Touchup Ribbon is your "go-to" for menu choices that will make those quick corrections.
To touch up a photo, follow these steps:
- Add the photo to the page—either with or without a frame (See Adding a Photo to a Page for more information).
- Make sure the photo is selected, and click the Touchup Ribbon.
The Touchup ribbon menus are enabled.
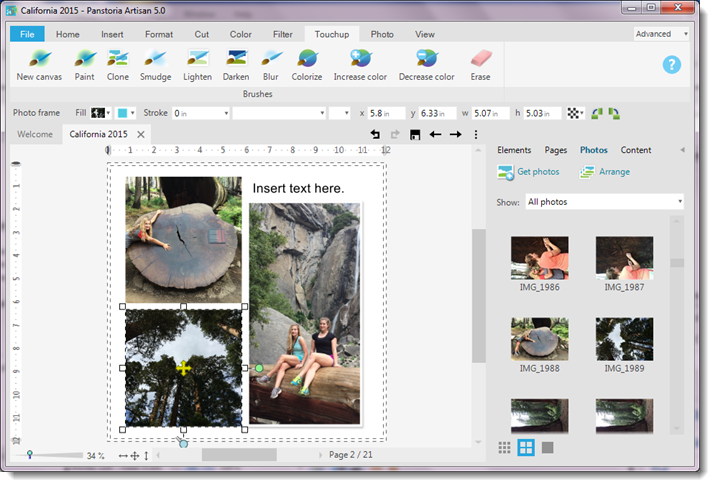
Note: If a photo is not selected, all ribbon menus except New Canvas will be unavailable.
- Click the desired menu to touch up your photo.
Note: You may get a message asking you to flatten the image: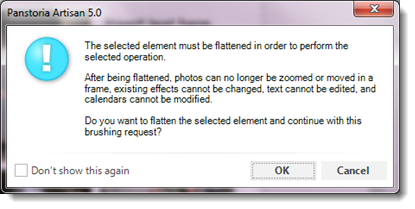
If you are finished sizing, zooming and centering the photo, click OK. See Arranging Elements on a Page for more information about flattening images.
|
Menu |
Description |
|---|---|
| New canvas | Allows you to free-form draw anywhere on the page.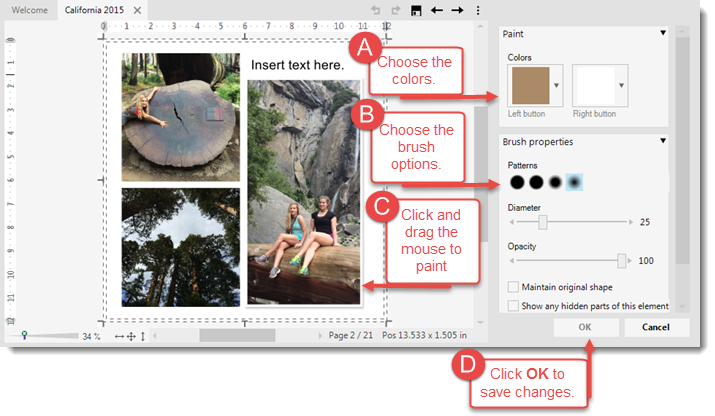 |
| Paint | Allows you to free-form draw anywhere on the selected photo or image.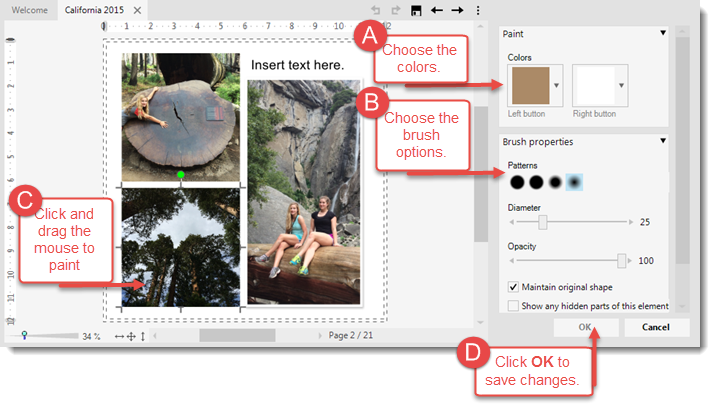 |
| Clone | Allows you to pick an area of the image to copy. This feature is nice for masking out an area of a photo (e.g., a stranger in the background of a vacation photo).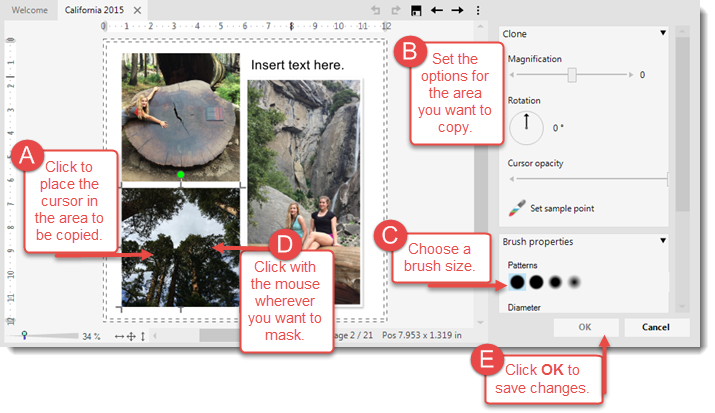 |
| Smudge | Allows you to smudge the colors of an area of a photo or image.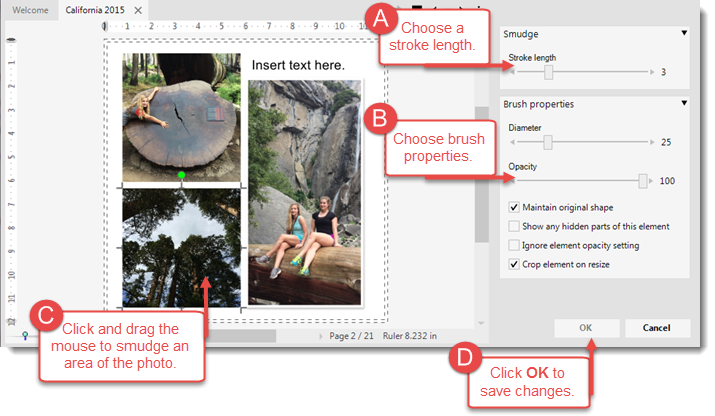 |
| Lighten | Allows you to lighten an area of a photo or image.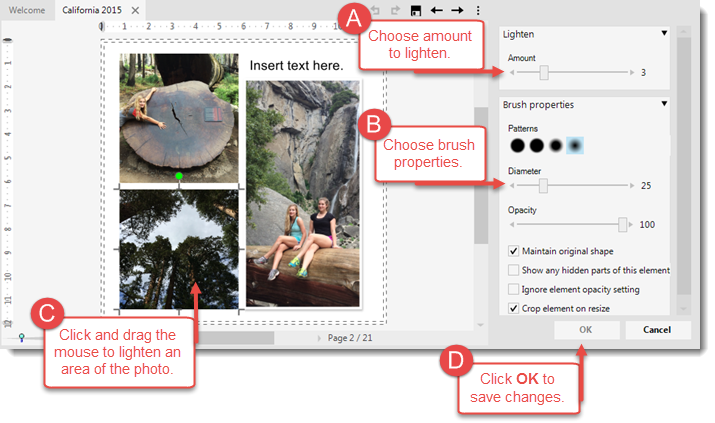 |
| Darken | Allows you to darken an area of the photo or image.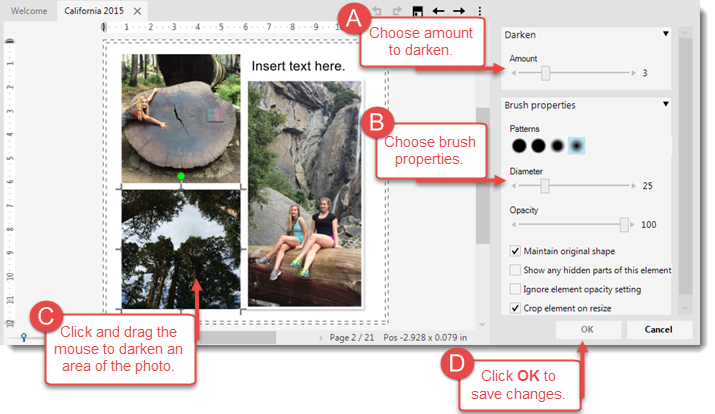 |
| Blur | Allows you to blur an area of the photo or image.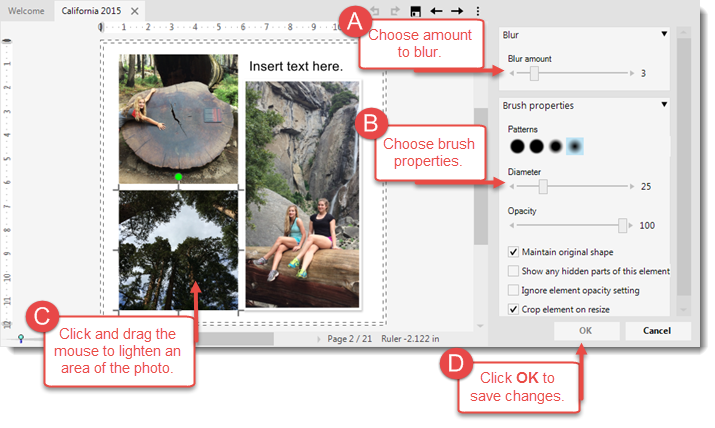 |
| Colorize | Allows you to add a color "filter" over an area of the photo or image.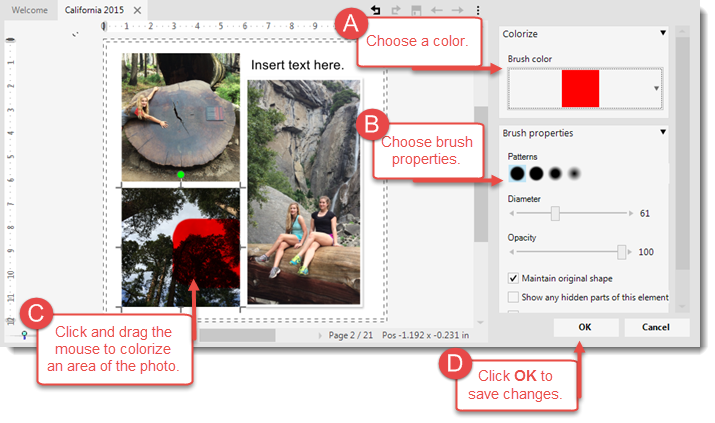 |
| Increase Color | Allows you to increase the color saturation of an area of the photo or image.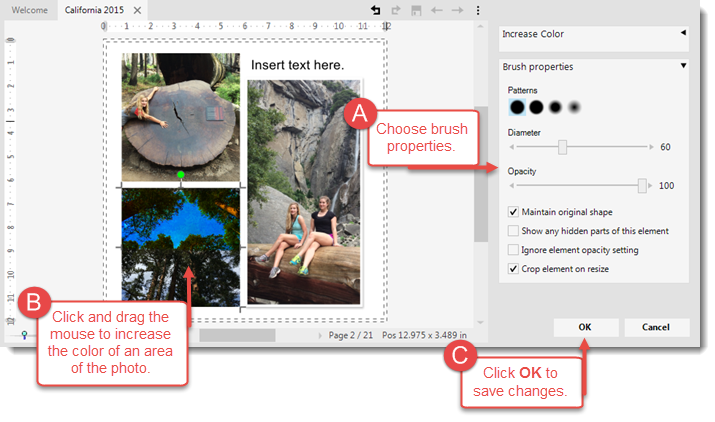 |
| Decrease Color | Allows you to decrease the color saturation of an area of the photo or image (e.g., converts to shades of gray). |
| Erase | Allows you to erase an area of the photo or image.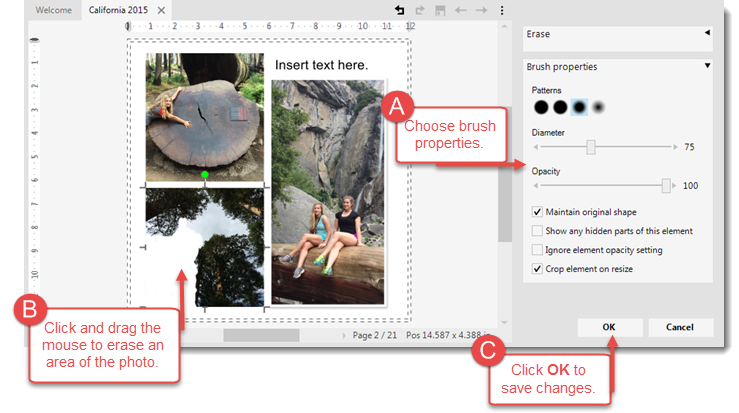 |